Showing posts with label DIY. Show all posts

Tuesday, January 29, 2013

DIY Sea shell decor

Like many kids, I used to love sea shells. Every time we went on a beach holiday I gathered a bucket full of sea shells. A few days ago I was cleaning the apartment and found a box of junk. In this box was a smaller box full of both big and small, gathered and bought sea shells as well as small rocks. First I thought about throwing them way, but then I thought about my parent's house; my mom loves ocean related decor things, so this gave me an idea. Here's what I came up with:


I have an Iittala Aalto-tray with a candle and glass beads in the livingroom. I threw  the smaller sea shells with the beads, and I'm really happy about the result. 

I happened to have a small glass jar with air bubbles. I put the rocks on the bottom of the jar and sea shells on top. I also had a really old brown "bling" jewel in the sea shell box, so I threw that into the glass jar as well. It almost looks as if the sea shells are swimming in bubbly ocean water, don't you think? :)

-Anne

Tuesday, December 4, 2012

DIY Wall Art


I made this awesome piece of DIY wall art inspired by some creations that I found online. I finally got all my Halloween decorations put away. (Well almost all put away!) And my apartment looked so bare and sad without them. So I decided to go for a quick, easy and cheap DIY project instead.

This piece I made is about 63x35cm in size; I made it to hang on the wall above my tv which is bare. However we have such high ceilings that I’ve been thinking that I will add to it once I get more toilet paper rolls. I’ve asked some friends to collect them for me as well, I know Anne has been collecting for me.

You Will Need:
·        -  as many toilet paper and paper towel tubes that you can get your hands on. (I used about 5 toilet paper rolls and two paper towel rolls for mine)
·         - scissors
·        -  a ruler or measuring tape
·       -  pencil
·         - hot glue gun & lots of glue or white craft glue
·        -  silver metallic spray paint (optional)
·         - 1cm squares of mirror (optional)

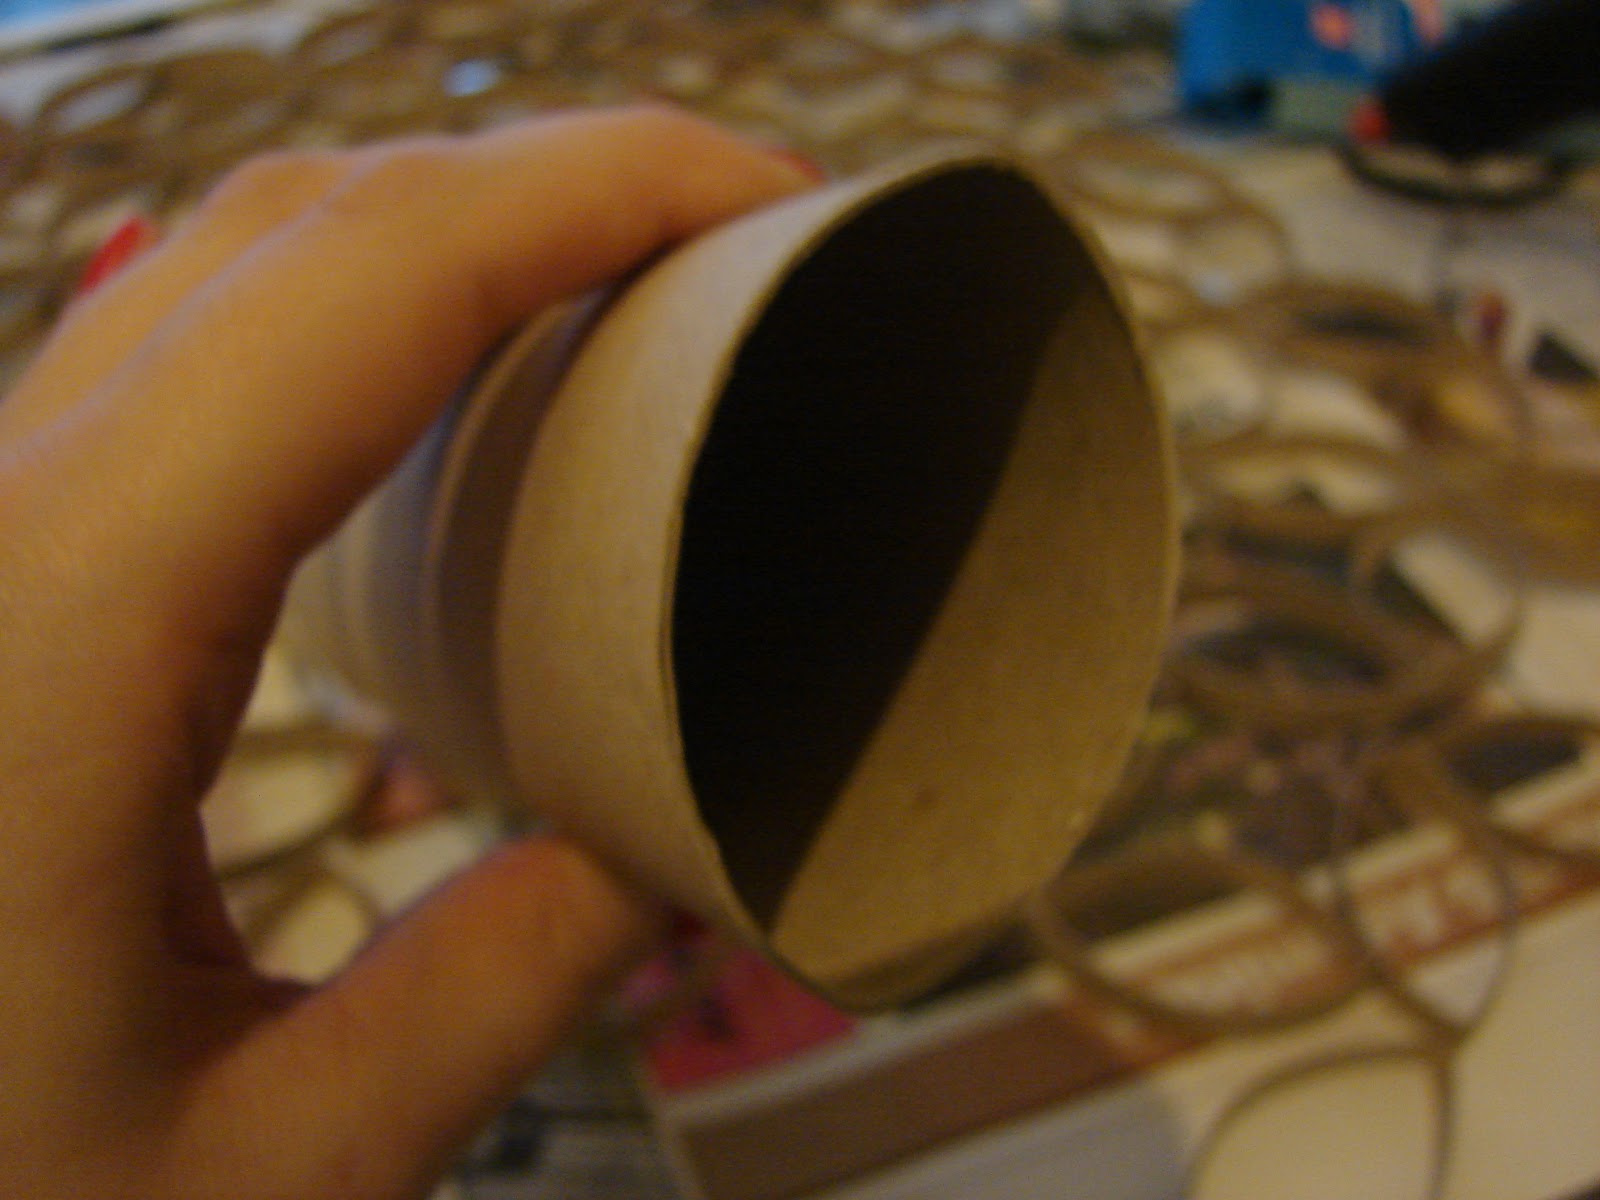
First cover your work surface with lots of newspaper. Then proceed to flatten the toilet paper rolls to make them easier to cut. Be photo below.

Then cut 1cm strips from the roll that look like this. I think they look like leaves or flower petals.
You can either eyeball the size of the pieces like I did or for more prefect and even pieces I’d recommend using a pencil to mark lines 1cm apart.


Once you have all of your toilet paper rolls cut you can start to arrange them in any pattern that you like. I wanted to keep my design in a simple trellis pattern. To do make this patter:  glue 4 of your “leaves” together into a shape that looks like this. 


I glued one leaf at a time. Be careful not to burn your fingers if you’re using hot glue. If you are using craft glue it may be a good idea to secure your pieces together while they dry using clothes pins or even bobby pins.

Once you’ ve glued all of your pieces into groups of 4 then lay out a design. I kept mine in a simple rectangle but you can get creative, just don’t start to glue until you are sure of your pattern.

Once its glued together and dry remove any hot glue strings. You can hang it up as is or paint it. I wanted my wall art to look like metal so I spray painted it with silver metallic spray paint that I got form my local craft store. Always use spray paint in well ventilated areas, preferably outdoors. I spray painted mine outside but I had to bring it inside to dry as it was raining. So we kept out window opens. It took about 3 coats.

After my piece was dry I added an extra bit of pizzazz with these 1 cm square mirrors that I also picked up from the craft store. I didn’t like that the glue was visible in certain areas. And when in doubt, bling it out! You could also add rhinestones, sequins or beads. If you don’t want to add anything extra then just be mindful not to over do it with the glue.


Thursday, July 12, 2012

DIY Ladybug shopping bag

Cotton shopping bags are so versatile; you can use them for groceries and for carrying almost anything while being eco friendly. I hate the fact in Finland cashiers in clothing shops etc. always without asking put the purchased goods in a plastic bag. I always try to avoid taking these plastic bags. I try to be as eco friendly as possible and sometimes even small deeds make a big difference.

 We have oh so many cotton shopping bags at home. The problem with them is that they were too plain for my taste. So I decided to paint pictures on them with textile paints. Here's one of them:


The bag in the picture was bought from the local food market, but the bags are really easy to make yourself.

Sunday, June 24, 2012

DIY pattern stool Part 2

It's finally ready and covered with plastic. My old kitchen stool actually looks cool now!


As I was talking in the earlier blog entry, I would do a tutrial on how to cover the stool's surface with plastic. This will help to keep the colours. Please keep on reading if you want to know how I did it :)

Tutorial

Sharp Scissors
Adhesive plastic

 
  • First, Measure the stool. Mine was about 26cm x 22 cm. I cut a piece of the plastic which was about 28cm x 24 cm.
  • Turn the adhesive plastic so that the plastic side is facing the floor and the paper side up.
  • Now make a fold in the paper following a line:
 
Now it's time to connect the plastic to the stool: 
Press the plastic onto the stool surface, and make sure that the plastic is not crooked!

Hold onto the plastic as....
you pull the paper at the same time. Make sure that you press the plastic onto the wooden surface as you pull.
Now it's time to cut! I like to do small cuts in the corners before starting the actual cutting. 
Always keep the plastic in a vertical position, this makes the cutting easier.
Finally you just need to press the plastic onto the wooden surface tigtly, and you're finished!

Wednesday, June 6, 2012

DIY pattern stool Part 1

I've finally had some time after the moving to start doing arts and crafts project. I have this really old and stained stool in the kitchen. I was actually thinking of throwing it away because the white colour isn't that white anymore. However, I got an idea to either cover it with beautiful baroque style fabric or paint the pattern on. As my drawers are full of different paints and markers, I decided to draw the pattern.

Before

Work in progress
  

As you can probably notice, I ran out of marker at some point( it was a really old one) so I need to buy a new one. I also need to clean up some of the black "mess" around the design.
The sides of the stool I'm going to paint black so that it will look more elegant. There's still a lot to do, so this is definitely not  what the stool will look like when it's finished :)

You don't even have to be a good drawer to do the design. I used mostly free hand, but you could use wax paper for tracing a whole pattern. So if you want to do something similar, these are the things you will need:
 Disinfectant, wax paper and a pencil. 
The disinfectant is for wiping the wooden surface. This ensures that the colour sticks on. Wax paper and pencil are for tracing a  pattern you like. The Internet has millions of pictures so that is surely the best place to find the design you like. All you need to do is to trace the picture on both sides of the paper. Press the pattern against the wooden surface and trace the outlines once again.

Pencil Sharpener and an Eraser
 A Waterproof marker.
 I used an old CD marker, but anything goes as long as it's thin and waterproof.
Nailpolish remover.
 This is used for wiping out possible stains. Be careful when doing this as you might smudge the design!

If you want to paint the sides of the stool, you will need paint. I will be using acrylic paint. When you have finished with the actual design(and painting) you definitely want to cover it up with either sealing wax meant for paintings or with a special plastic. I will do a tutorial on this once I finish my design and painting, so stay tuned! :) 

Friday, May 25, 2012

Crochet blanket

I will be moving to our first official apartment tomorrow, so I have decided to start a DIY project to celebrate this. Buying something ready-made is too easy, and self-made things give the apartment more character. Lace and crochet have always been my favourite materials. I get cold quite easily and when watching TV I love wrapping myself inside a comfy blanket, so a blanket is my next project.

from Gant

from http://www.free-crochet.com

Previously I had almost a hatred for Gant's star pattern blankets and pillows. I don't know the actual reason, I just thought that they were too plain and the prices were too much for me. I can pay for quality, but when and if I can do something myself, I will. The star pattern is really youthful, in my opinion and the more "plain" fabrics have started to interest me. Funny how my opinions about clothes and interior design stuff changes every now and then. I will be doing the blanket myself using crochet, so my blanket consists of same size granny squares (unlike the Gant blanket).
(from Dailymail.co.uk) My Dream bed

Our sofa is beige/sand coloured and our bed black, so I figured a black blanket will go with everything and not look too "granny-like", I don't think that's my boyfriend would appreciate that :) My granny squares are black.
One square, now only about a 100 to finish :D
What the pattern will more or less look like. The squares still need to be ironed and stretched so that they will be even.

I still don't know if I want to crochet my white stars, or would it be easier to just sew them. I might also do a few different pattern squares. I guess I will decide while I'm crocheting. My goal is to do at least 2-3 squares per day, so the blanket should be ready in about one month.

Monday, April 9, 2012

Glee party

Here's some pics of a Glee themed birthday party that I threw for my boyfriend's sister's 14th birthday. I only had about a week and some carboard, posterboard scraps and a hot glue gun to throw it together. I guess that just shows that "necessity is the mother of invention"

In the right corner, a glass IKEA cake/treat stand. I love this thing, I use it for almost every party that i have. For the glee party i taped blue construction paper along the edge of each tier of the treat serving dish and i added a fake slush to top it off. To attach the paper I simple strategically placed some tape. After the party i peeled off the tape and washed the dish. In the center of the table you will notice a plastic IKEA frame, I bought it for 1euro. I have used it for parties when I have wanted to display the name and ingredients which are in certain foods or the punch bowl. For this party I simply wrote "happy birthday Jassu" on a piece of paper and put it in the frame. Its simple but you could use the frame for anything, it would probably look great if I had been able to print out a happy birthday sign. I also scattered some music notes and stars on the table. 

For the cake I was low on supplies and my budget was dwindling so I baked a simple chocolate cake and used half of the dough for cup cakes. For the cake decor I cut out a glee inspired logo, i used a photos i found online for inspiration and i cute out a "Cheerios" cheerleader megaphone. 
Chocolate Cupcakes with vanilla frosting. I colored it blue with a few drops of food coloring. I then put the cupcakes inside plastic cups. I then hand made lables to go around the plastic cups that say "big quench" the Glee charters' slushie of choice. I also cut red straws to size and stuck them in the cupcakes to make them look like an actual slushie. I made the letters rounded so they looked like they were splashing out of the slushie cup.  I also cut out a William Mckinley High School logo (the school that the glee kids go to) I simply copied the logo on the cheerleaders uniforms. 
Here is a glee centerpiece that i made. it is like a diorama. The glass part is a candle holder turned upside down. 

- Tina

Saturday, March 31, 2012

Party decorations

When organizing a party, the most important thing is of course to have the right amount of snacks and drinks. To make the party even nicer, you might consider to invest in some decorations. You might even want to have a certain theme. Buying ready-made decorations might be very expensive, so why not make your own? A while back I had my housewarming party. As I love wizard of Oz, I decided to have that as the "theme" of the party. Here's some pictures of the centrepiece:


 These popcorn boxes I made for Valentine's Day, to make the movie-date-night-at-home even more special


There's so many different sites where you can find party decoration ideas and tutorials. One of my favourites is Martha Stewart

- Tina

Monday, March 19, 2012

Monogram Letters


Today monogram letters are often used when decorating the apartment, and for a good reason. They make the apartment seem more stylish. They can be hung on the wall, put on a book shelve etc. It can be pretty expensive to buy them, so why not make your ow! All you need is a bit of creativity, cardboard, hot glue and fabric.Here's some pictures of the ones I made:
Before

Finished


- Tina