I made this awesome piece of DIY wall art inspired by some
creations that I found online. I finally got all my Halloween decorations put
away. (Well almost all put away!) And my apartment looked so bare and sad without them. So I
decided to go for a quick, easy and cheap DIY project instead.
This piece I made is about 63x35cm in size; I made it to
hang on the wall above my tv which is bare. However we have such high ceilings that I’ve been thinking that I will add to it once I get more toilet paper
rolls. I’ve asked some friends to collect them for me as well, I know Anne has been collecting for me.
You Will Need:
· - as many toilet paper and paper towel tubes that
you can get your hands on. (I used about 5 toilet paper rolls and two paper
towel rolls for mine)
· - scissors
· - a ruler or measuring tape
· - pencil
· - hot glue gun & lots of glue or white craft
glue
· - silver metallic spray paint (optional)
· - 1cm squares of mirror (optional)
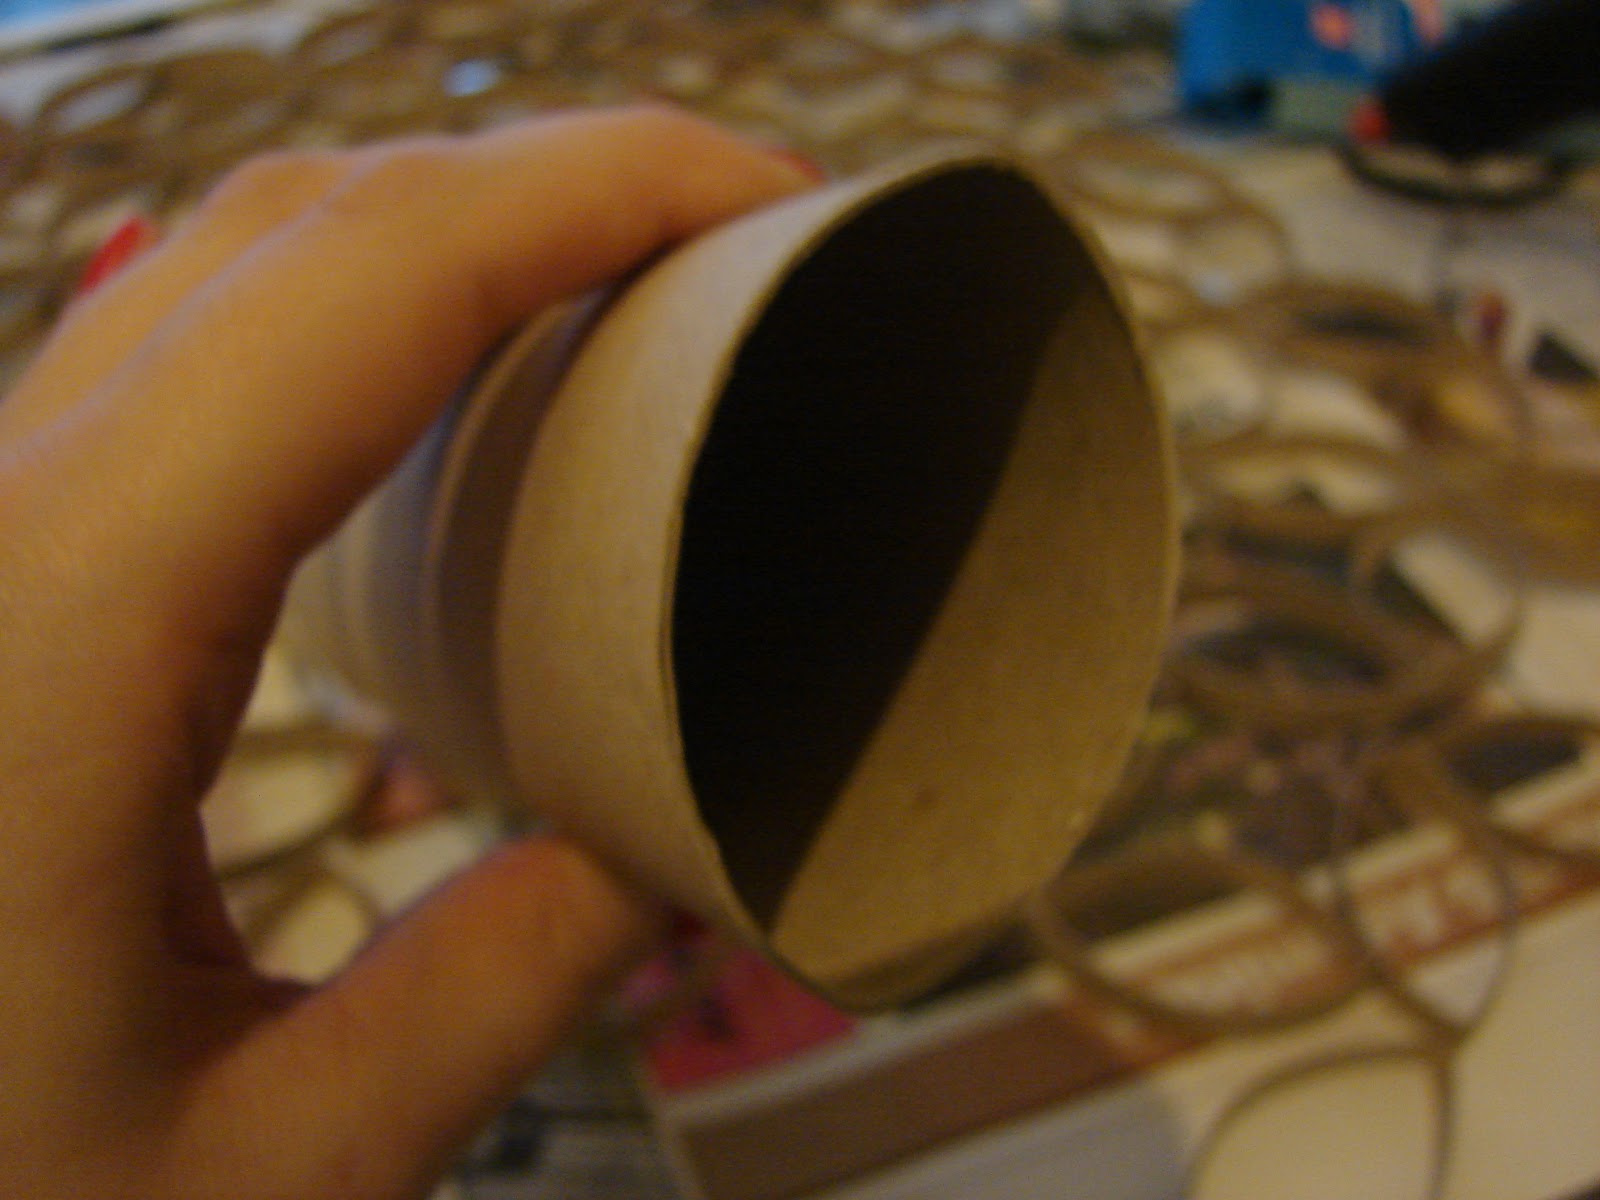
First cover your work surface with lots of newspaper. Then
proceed to flatten the toilet paper rolls to make them easier to cut. Be photo
below.
Then cut 1cm strips from the roll that look like this. I
think they look like leaves or flower petals.
You can either eyeball the size of the pieces like I did or
for more prefect and even pieces I’d recommend using a pencil to mark lines 1cm
apart.

Once you have all of your toilet paper rolls cut you can
start to arrange them in any pattern that you like. I wanted to keep my design in a
simple trellis pattern. To do make this patter:
glue 4 of your “leaves” together into a shape that looks like this.

I
glued one leaf at a time. Be careful not to burn your fingers if you’re using
hot glue. If you are using craft glue it may be a good idea to secure your
pieces together while they dry using clothes pins or even bobby pins.
Once you’ ve glued all of your pieces into groups of 4 then
lay out a design. I kept mine in a simple rectangle but you can get creative,
just don’t start to glue until you are sure of your pattern.
Once its glued together and dry remove any hot glue strings.
You can hang it up as is or paint it. I wanted my wall art to look like metal
so I spray painted it with silver metallic spray paint that I got form my local
craft store. Always use spray paint in well ventilated areas, preferably
outdoors. I spray painted mine outside but I had to bring it inside to dry as
it was raining. So we kept out window opens. It took about 3 coats.
After my piece was dry I added an extra bit of pizzazz with
these 1 cm square mirrors that I also picked up from the craft store. I didn’t
like that the glue was visible in certain areas. And when in doubt, bling it
out! You could also add rhinestones, sequins or beads. If you don’t want to add
anything extra then just be mindful not to over do it with the glue.

Hyvää Uutta Vuotta 2013!
ReplyDeleteVähän myöhässä, mutta Kiitos samoin :)
DeleteIt's really a great project, final wall art is looking very nice, many thanks for sharing this great post.
ReplyDeletehttp://biznik.com/members/canvas-design